Testing symfony applications with Cypress
Introduction
Cypress.io is a powerful end-to-end testing tool that has gained popularity among developers for its ease of use and effectiveness in testing web applications. It provides a robust framework for writing, running, and managing tests that simulate real user interactions on your website.
In this blog post, we will explore how to set up Cypress for testing a Symfony demo application, covering setup, creating test specs, handling forms, and managing test data.
Environment setup
To begin testing the Symfony demo application, you’ll need to set up your development environment.
Start by setting up the Symfony demo application from its GitHub repository: Demo application. This application will serve as the basis for our testing examples.
Cypress install
Before you can start writing tests, you need to install Cypress as a development dependency in your project.
npm install cypress --save-devOnce Cypress is installed, you can configure your package.json file to include scripts for running Cypress commands. Add the following script to your package.json:
{
  "scripts": {
    "cypress:open": "cypress open"
  }
}
We will be using the Symfony Server local proxy domain configuration, you can set the necessary environment variable in the script:
"cypress:open": "export HTTP_PROXY=http://127.0.0.1:7080/proxy.pac && cypress open"You can now open the Cypress Test Runner by running:
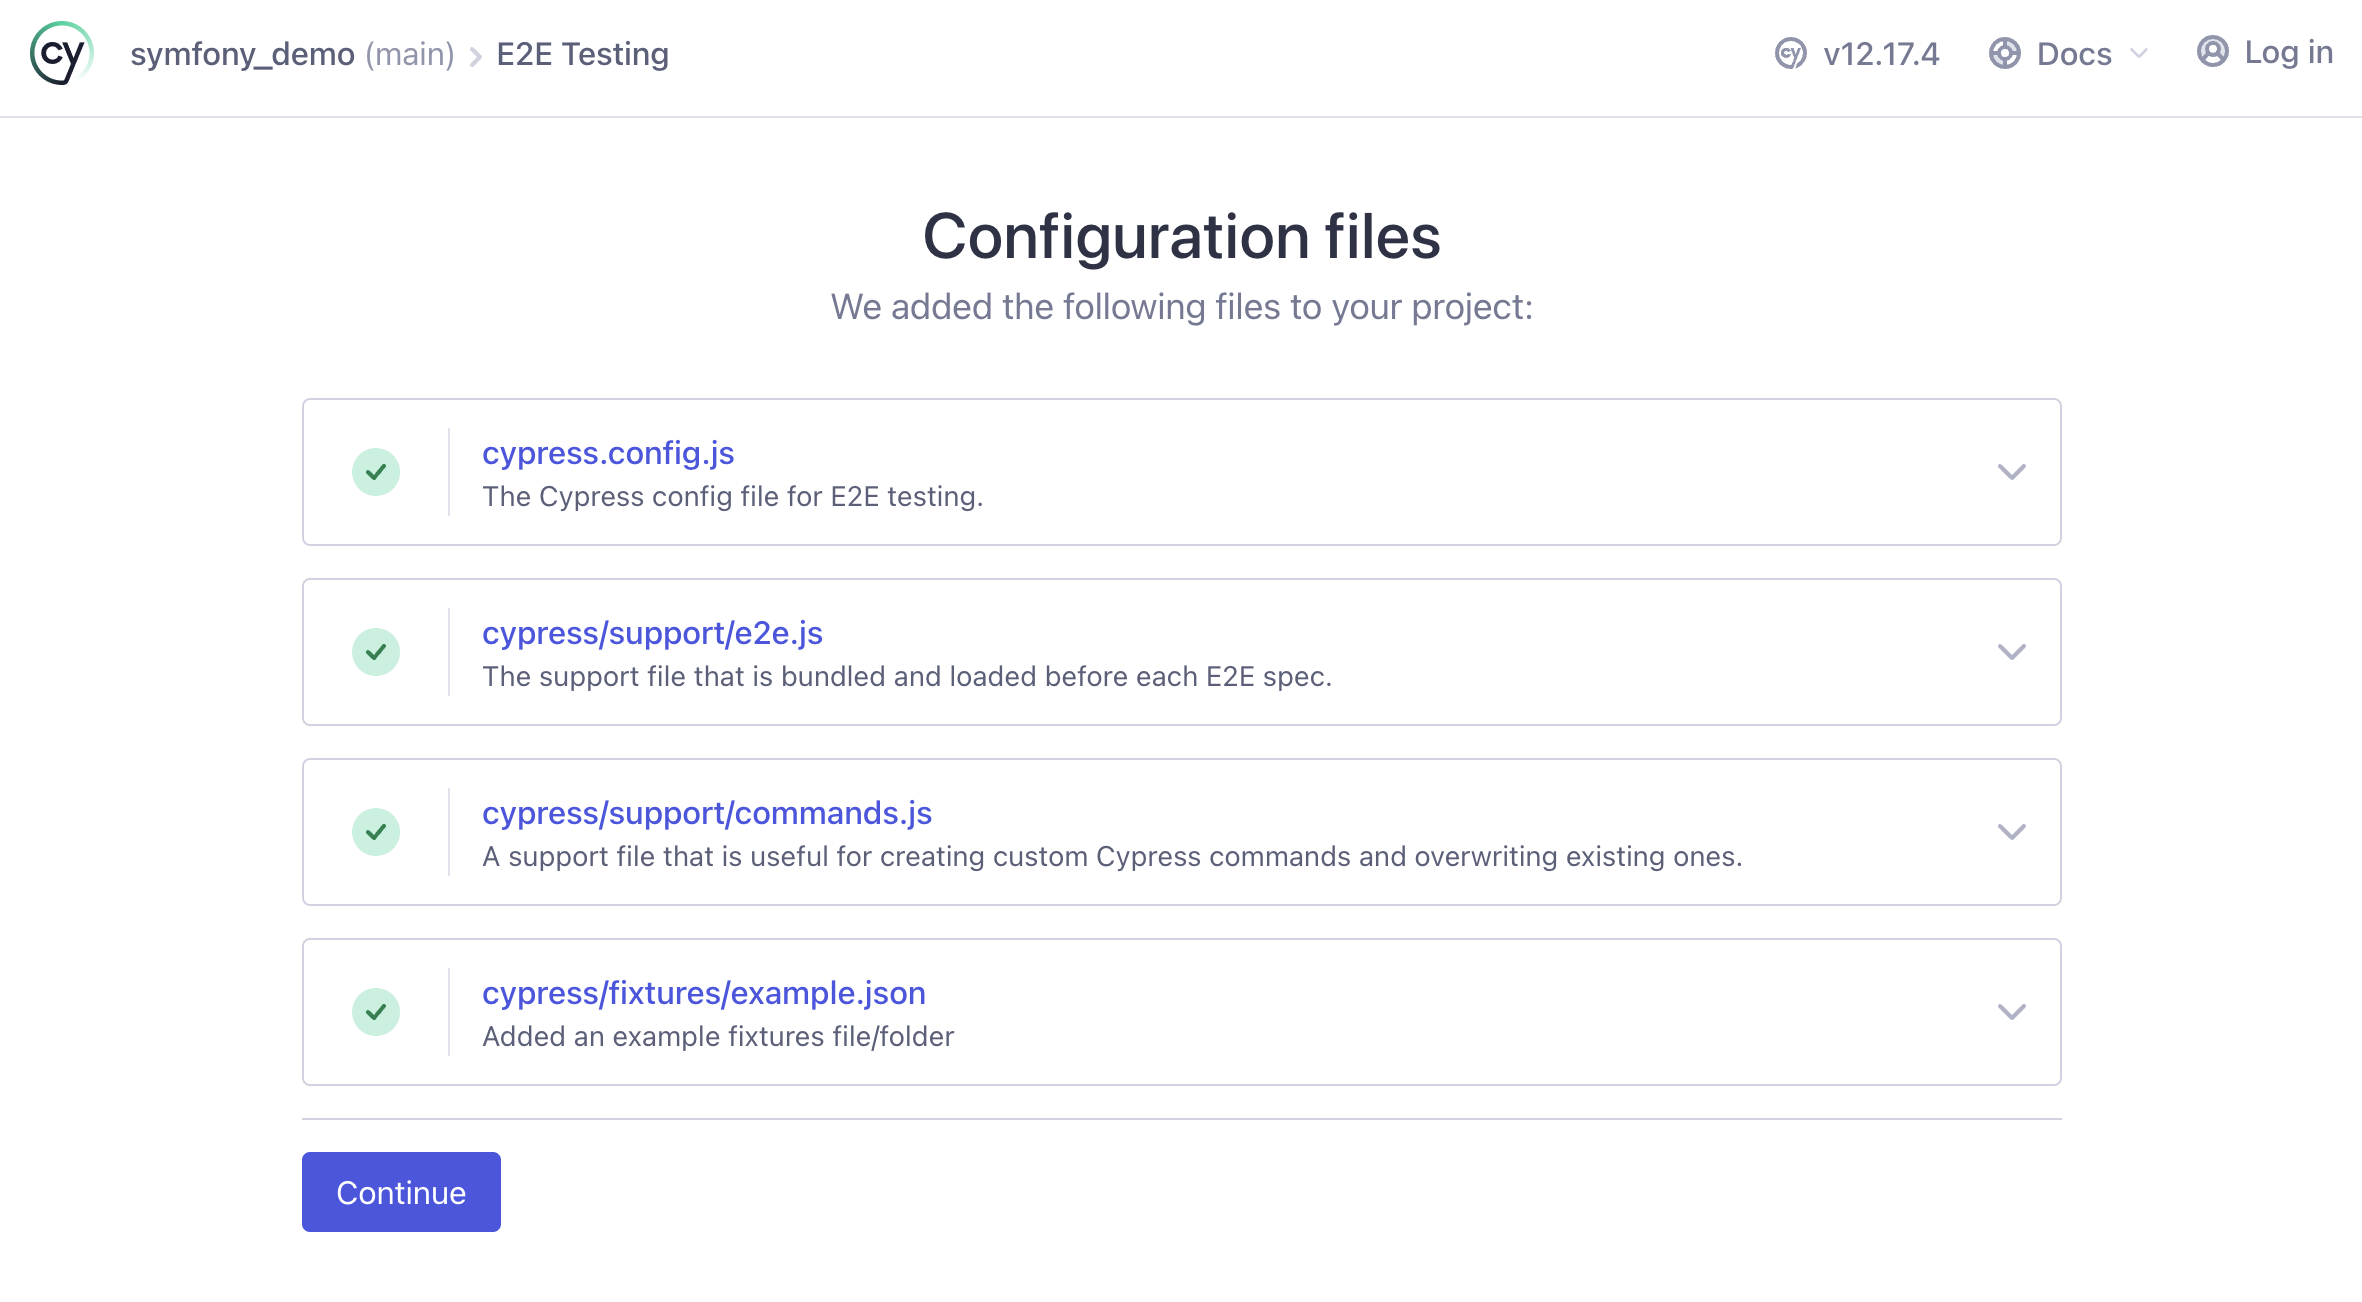
npm run cypress:openThe first time we run Cypress, it will generate some default configuration for us.
Creating a spec
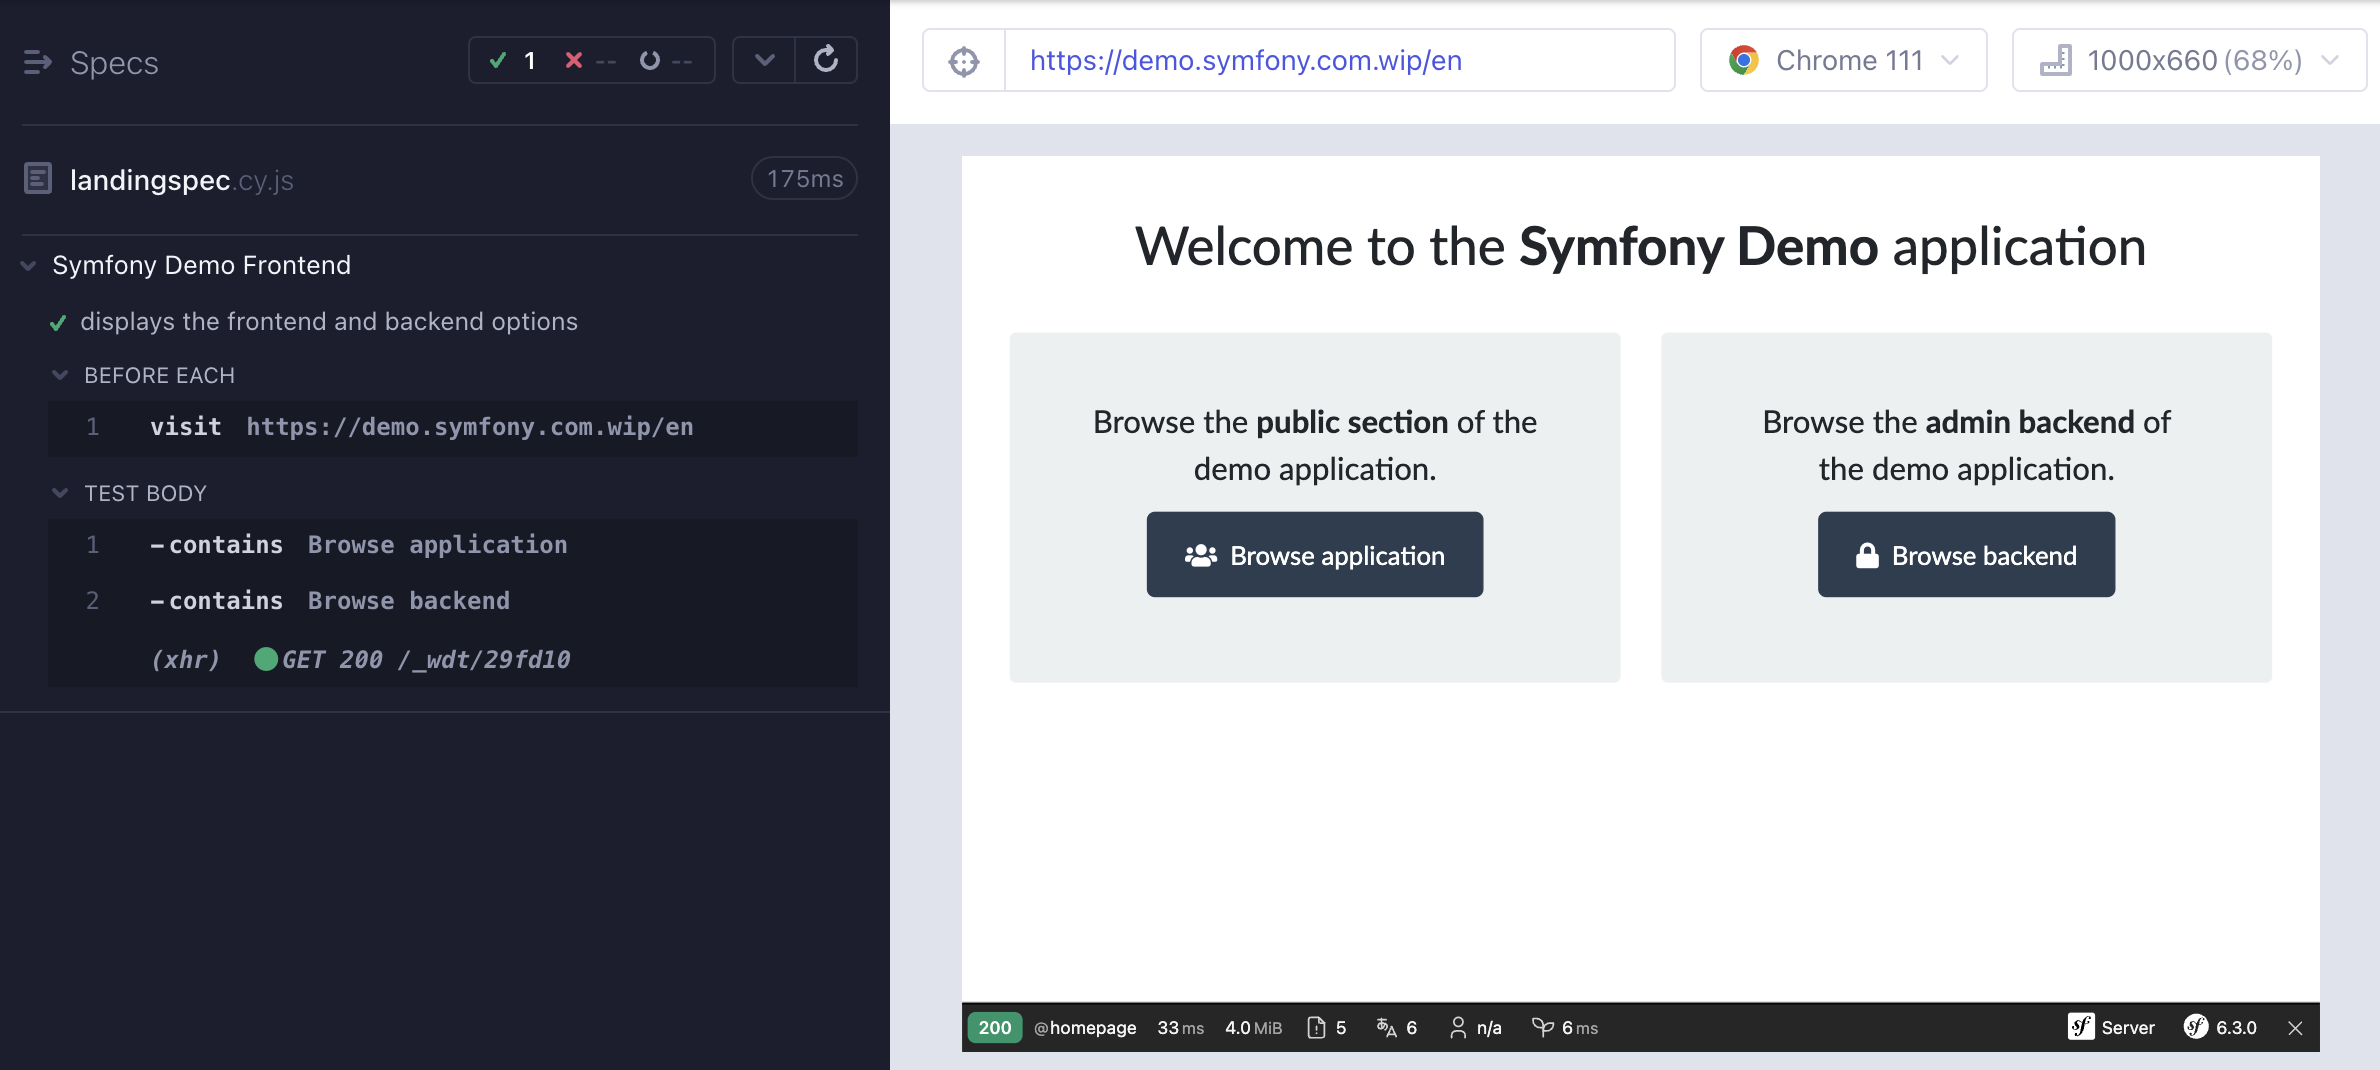
Cypress uses test specs to define the behavior of your tests. Let’s start by creating a new spec that will test the landing page of the Symfony demo application.
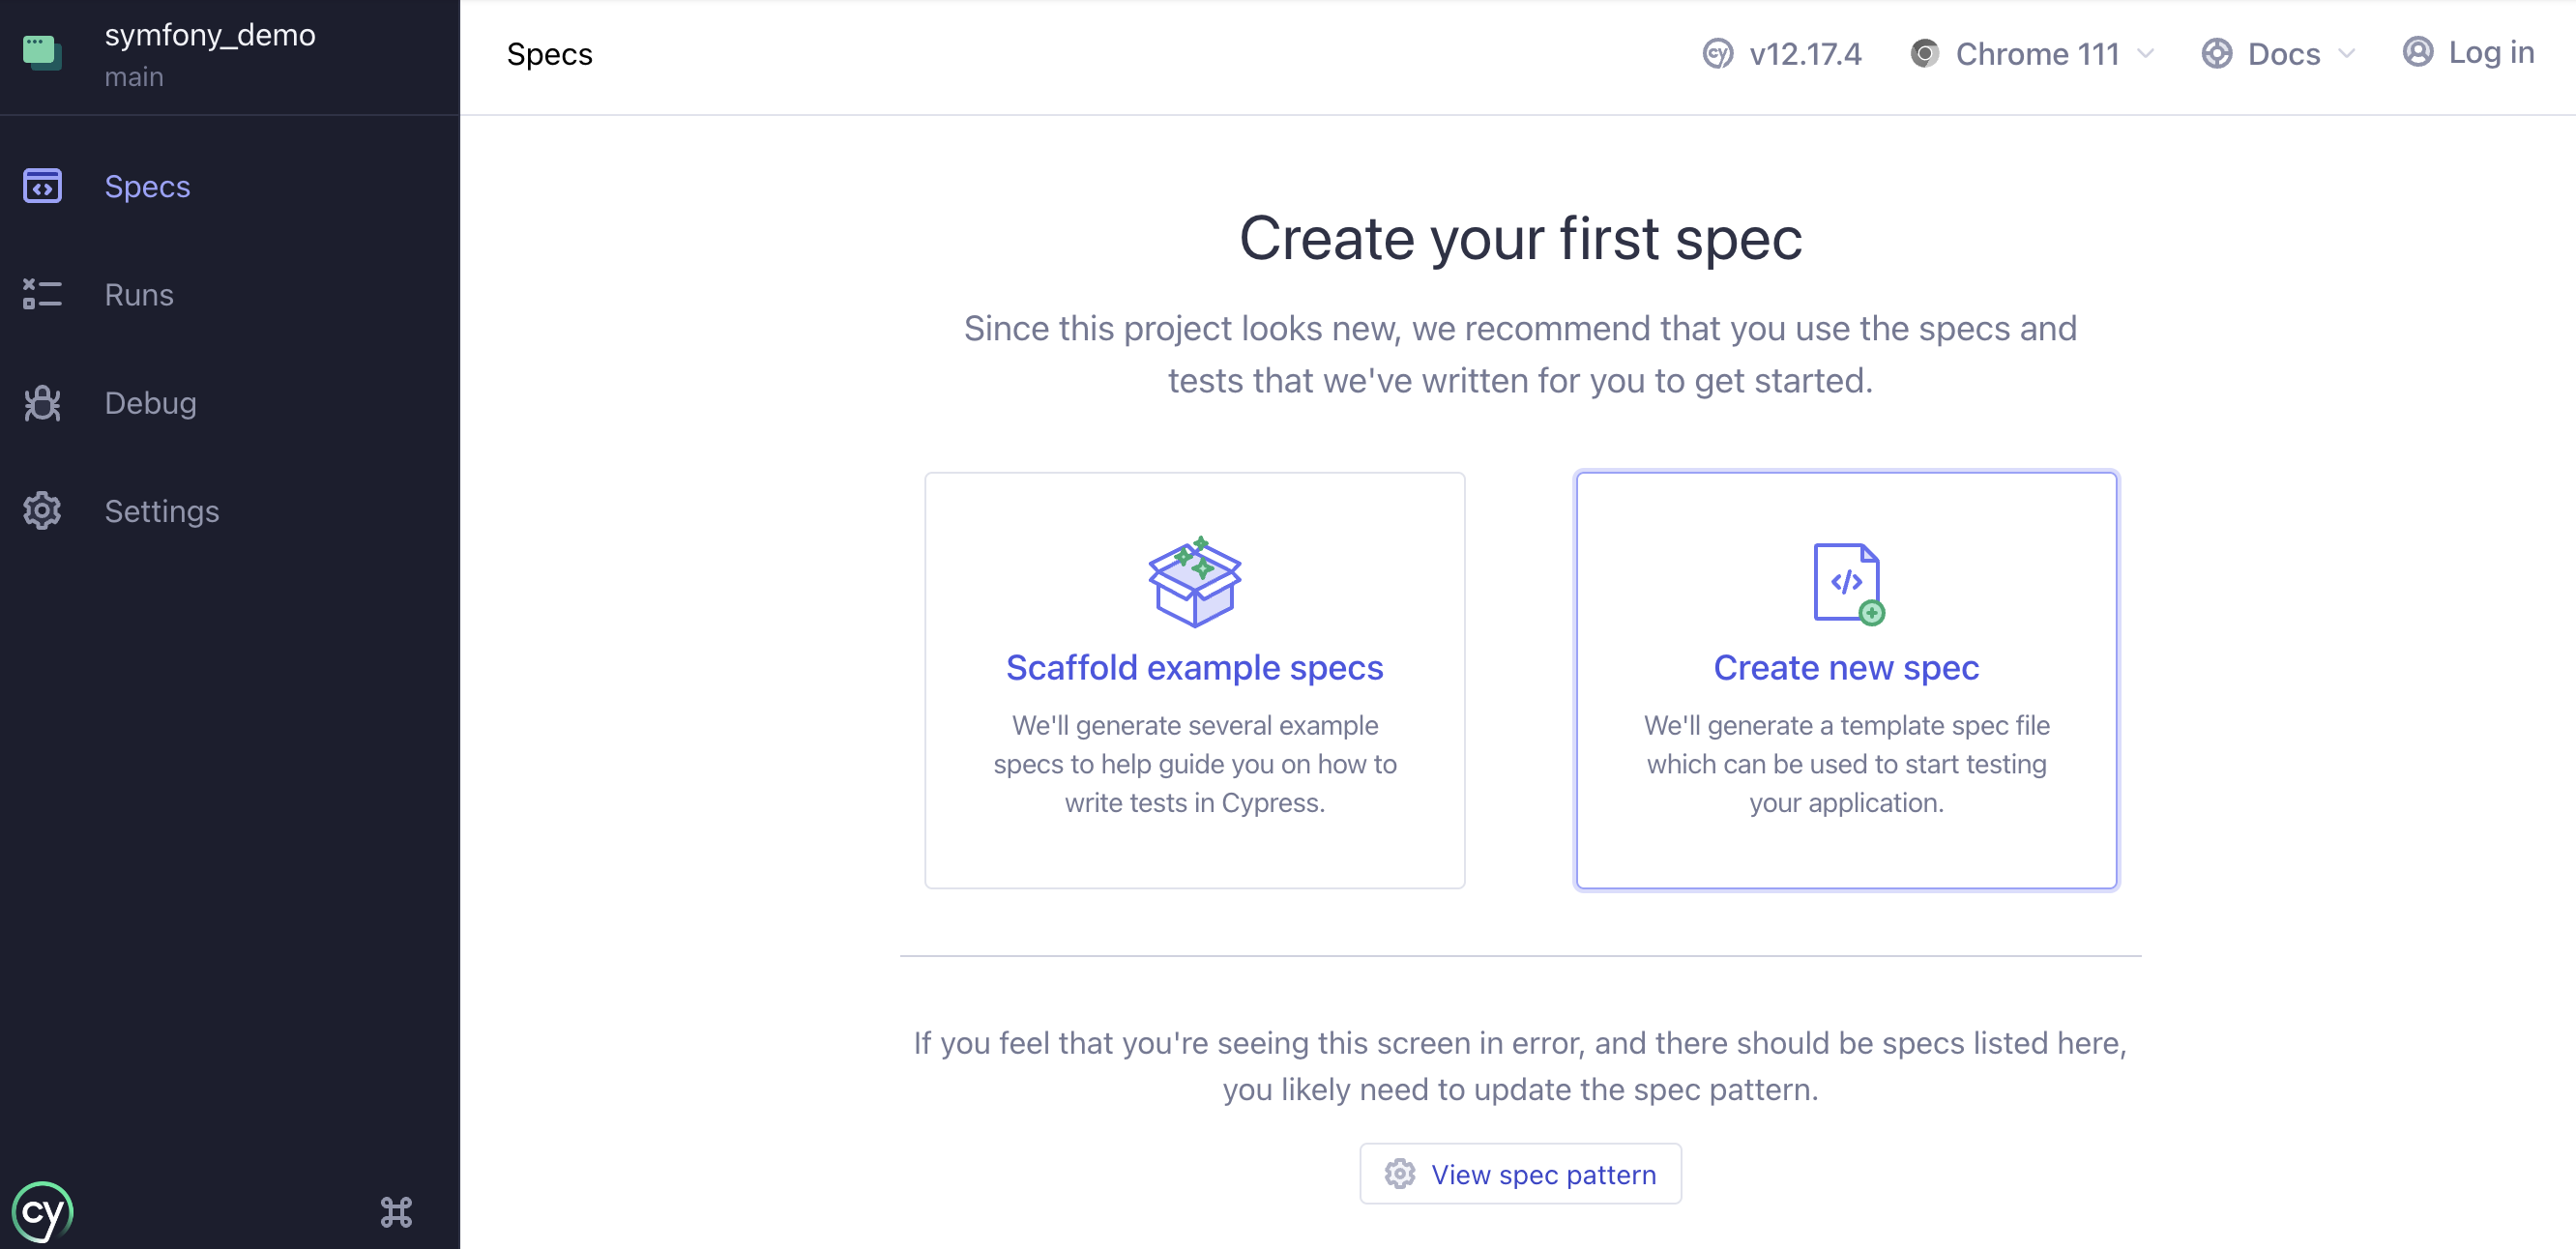
When we create the new spec using the interface, a new file will be created in our project. You can find this file in the cypress/e2e folder.
We will add the following example code:
describe('Symfony Demo Frontend', () => {
  beforeEach(() => {
    cy.visit('https://demo.symfony.com.wip/en')
  })

  it('displays the frontend and backend options', () => {
    cy.contains("Browse application")
    cy.contains("Browse backend")
  })

  it('can navigate to the blog', () => {
    cy.contains("Browse application").click()
    cy.url().should('include', '/blog')
  })
})
In this spec, we use the beforeEach function to ensure that the landing page is loaded before each test. The first test checks if both frontend and backend options are displayed, while the second test simulates clicking the “Browse application” button and verifies that the URL includes ‘/blog’.```
Even without adding an assertion, we know that everything is okay! This is because many of Cypress’ commands are built to fail if they don’t find what they’re expecting to find. This is known as a Default Assertion.
Manipulating forms
Testing form interactions is a crucial aspect of end-to-end testing. Let’s create a spec that tests the login functionality of the Symfony demo application. In a new test file (e.g., login_spec.cy.js), write the following code:
describe('Symfony Demo Admin', () => {
  beforeEach(() => {
    cy.visit('https://demo.symfony.com.wip/en/login')
  })

  it('can login as admin', () => {
    cy.get('#username').type('jane_admin')
    cy.get('#password').type('kitten')
    cy.get('[data-cy="login"]').click()
  })
})
To ensure that Cypress can identify the login button uniquely, we’ve added a data-cy attribute to the login button in the Symfony template (security/login.html.twig).
Handling data
When testing interactions that involve creating or modifying data, managing test data becomes essential. Let’s create a spec that tests the creation of a blog post by an admin.
In a new test file (e.g., blog_creation_spec.cy.js), write the following code:
describe('Symfony Demo Admin', () => {
  beforeEach(() => {
    cy.visit('https://demo.symfony.com.wip/en/login')
    cy.get('#username').type(username)
    cy.get('#password').type(password)
    cy.get('[data-cy="login"]').click()
  })

  it('can create a post as admin', () => {
    cy.contains('Create a new post').click()
    cy.get('#post_title').type("Post title test")
    cy.get('#post_summary').type("This is the post summary")
    cy.get('#post_content').type("This is the post content")
    cy.contains('Create post').click()

    cy.contains("Post title test").parent().contains("Show").click()
  })
})
This works fine! But if we try to run it again, we get an error.
We can fix this by making sure we reset our database before each test. In this case, we can easily do that by adding a cypress task in the cypress config.
We’ll modify the config to look like this:
module.exports = defineConfig({
  e2e: {
    setupNodeEvents(on, config) {
      on('task', {
        resetDB() {
            return new Promise( (resolve, reject) => {
                const util = require('util');
                const exec = util.promisify(require('child_process').exec);

                return resolve(exec(`php bin/console doctrine:fixtures:load -n`));
            })
        },
      })
    },
  },
});
This allows us to use the newly create resetDB task in our tests.
  beforeEach(() => {
    cy.task('resetDB')
    ....
  })
Now every time our blog_creation_spec test is ran, the database will be predictable.
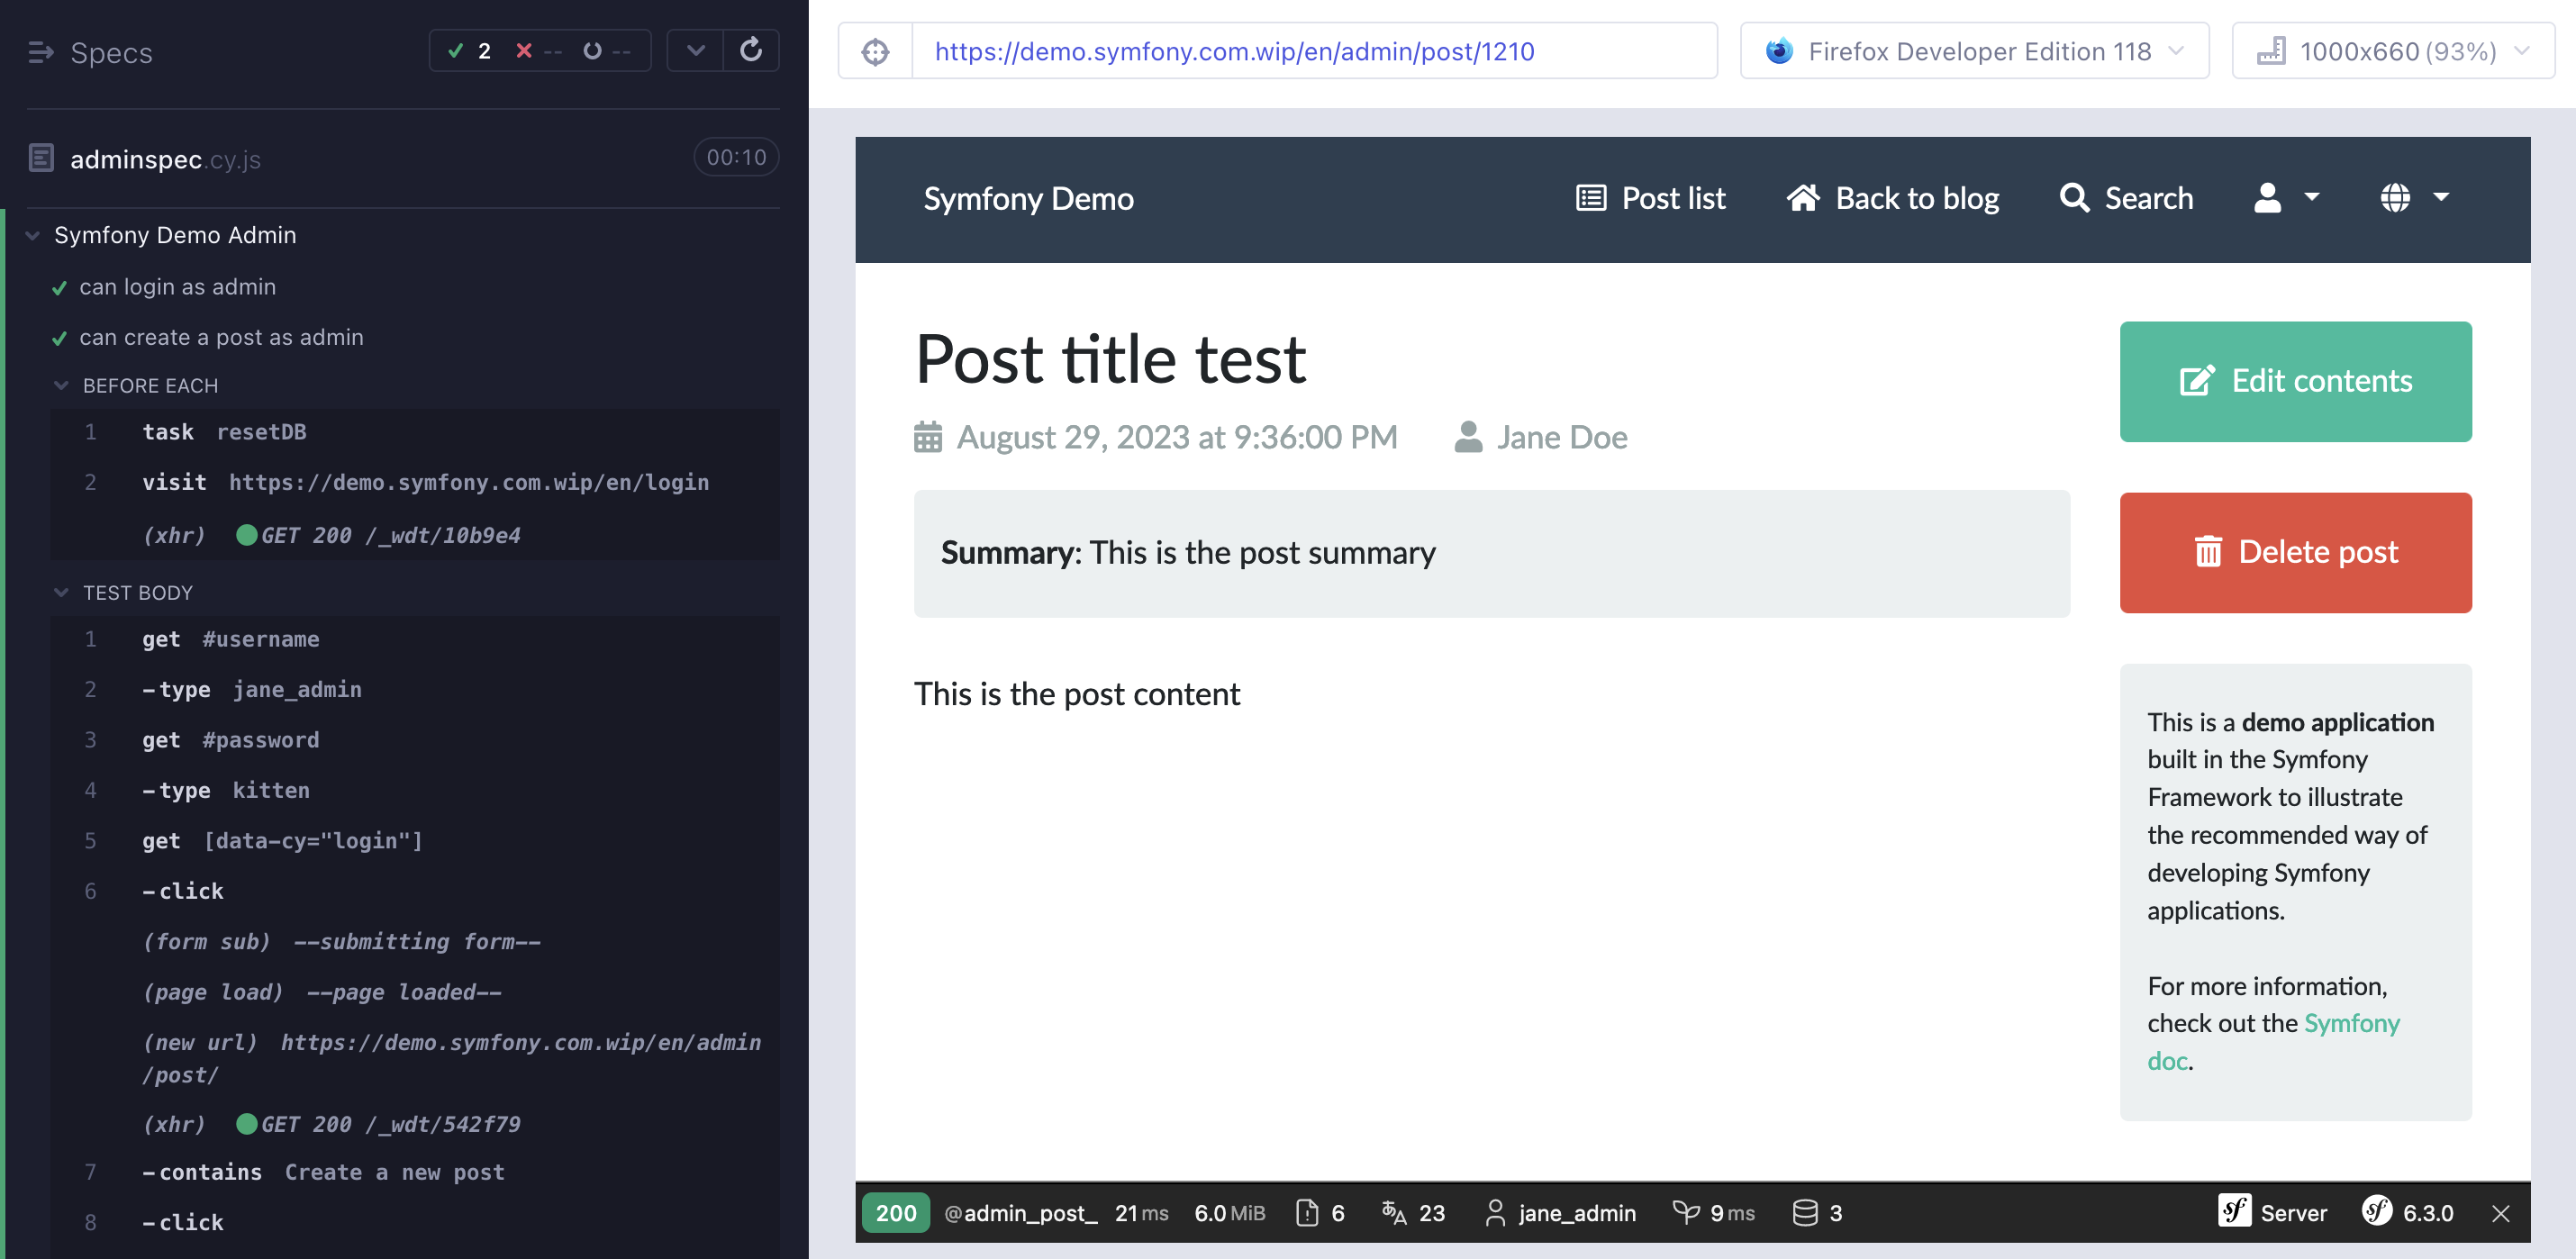
In the interface, we can now see our test passing successfully!
Conclusion
Cypress provides us with an easy-to-use interface to run our tests, and allows for easy testing of an application. Due to the simple nature of the testing code, it will also be easier to maintain.
With Cypress in your testing toolkit, you can ensure that your web application functions correctly and delivers a smooth user experience.